Friday, August 29, 2014

Ganesha Habba 2014

Happy Ganesha Chaturthi everyone!

Today's menu was traditional south Indian festival food with highlights being Aapam (sweet - we made it last year too), Karida Kadubu (or karigadubu) and Tayir Vada. 
S and me come from different states in south India. So our festival food and traditions vary slightly. As far as possible, we try to incorporate both traditions - so D gets to see all of it.

On the decoration front, it was a modest set up :) With a rangoli at the front door and few colorful tit-bits at the God's pedestal.
Here are a few pictures:


Made this Rangoli the night before. I tried to follow a style of rangoli called Sanskar Bharti rangoli - generally found in Maharastra and done using all 5 fingers. But this is just my version of it and there are tonnes of authentic beautiful sanskar bharti designs out there.


The set up before being adorned by the lord.


Some more pictures by daylight.


There is D! I cant believe this orange Kurta will soon become small for him. They grow up so fast!


Thursday, August 28, 2014

(failed) Burlap banner.

Burlap is everywhere now a days!
Saw this lovely subway print banner DIY on pinterest and wanted to give it a shot.

With a 2 year old around the home - mess is an integral part of life! I thought this sign will be appropriate for our home right now..


I printed out the words on A4 sheets. Placed that sheets behind the burlap and just traced out the letters using a sharpie paint pen.


Personally I am NOT satisfied with the way it turned out. It looks like it was hand written as against printed..
It feels incomplete too.


I am not ready to hang it on the wall yet - May be someday I will, if I can make it better. 
I am sure our house will stay messy for a while to come ;)

Gearing up for Ganesha 2014

Ganesha Chaturthi is coming up and soooon.
Here is how we are preparing for the festival. Few quick and small projects to add to the festival spirit!

Made some rangoli with Kundan / rhine stones. These are generally kept transparent, somehow. But I feel it works better with a traditional colored back ground.
Tried out a few colors for the back ground.


And - I obviously settled on yellow! It just makes the design pop! :)


I scored a small clay pot at one of the Indian stores. When browsing, I found it in a very remote corner of the store. So remote a corner, that the owner did not even remember having it. So, he let me have it for free! Small joy to bump up the festival spirit  :)

Was not the smoothest of finishes, but I wasted no time - Painted the pot with lovely yellow and blue and decorated it with rhine stones.


The almost finished product. Could serve as a small vase :)


At Joanns, found this small wooden pedestal. Wanted to paint it and make it a little more ethnic looking for all upcoming festivals.

Started with an antique gold paint... And embellished with Kundan and pearls.


Some more pictures - This time hubby dearest - S - decided to take pictures in his camera! Lucky us - we get to look at some real nice pictures!


What do you think - Festive enough to welcome Ganesha? :)

Tuesday, August 26, 2014

Happy Birthday D!

Phew! we did it! Finally!
D had a birthday party in California - with all his and our dear friends!

I have been preparing for this day for almost 2 years. When the first birthday party plans were scratched - I ended up adding more decorations and ideas to the birthday basket and carried it forward to the second birthday!

All of our dear dear friends helped out. This must be the millionth time I am saying that, S is not very mobile due to his foot - So I shouted for help and cousins and friends responded. B-I-L and Co-sis were also here at that time. So more hands to put things together.

Here are some main highlights from the party.

A backdrop for the cake table made with honeycomb tissue balls. "D is 2!" banner and a string of Christmas lights. Thanks cousin A and P for executing it to perfection! :D


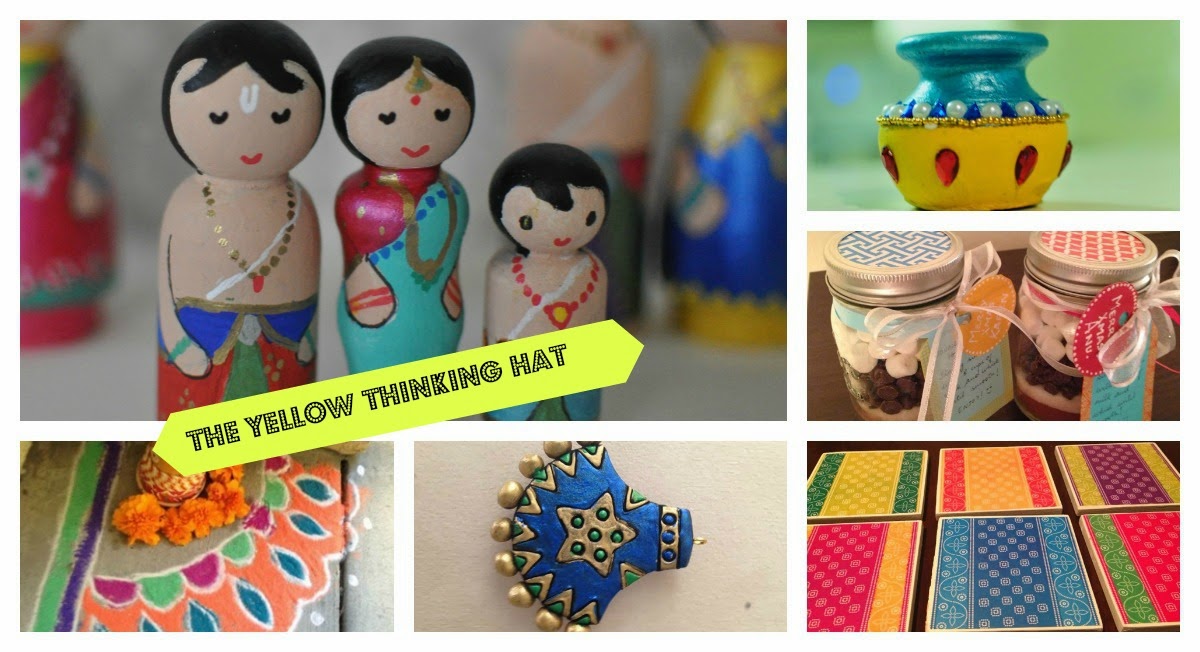
I love paper lanterns - for years now I have been trying to fit them in my home decor, and each time I have backed out for some reason. Finally I found them a place in this party and they did NOT disappoint! Love paper lanterns - they just liven up the place - especially in yellow ;) We also had some photo props.


Here is the cake table. We sampled the cake at one place and it was heavenly! But they said since it was so moist and soft it could not hold any fondant decorations on top - so we ended up having 2 cakes. One cake just for the train decorations and another one to - well - eat! :D


This is the choo-choo train decorated cake. Pretty closely duplicated from a picture I gave them. Which I found on - of course - Pinterest! BTW, the cake stand is a DIY. *grinn*


Here is the second delicious cake.. And all decorations on top made by yours truly :)


I am not sure if you already caught the DIY tray post - We filled the tray with cups of cheerios and goldfish and some toppers for glamour. Thanks A for arranging them.


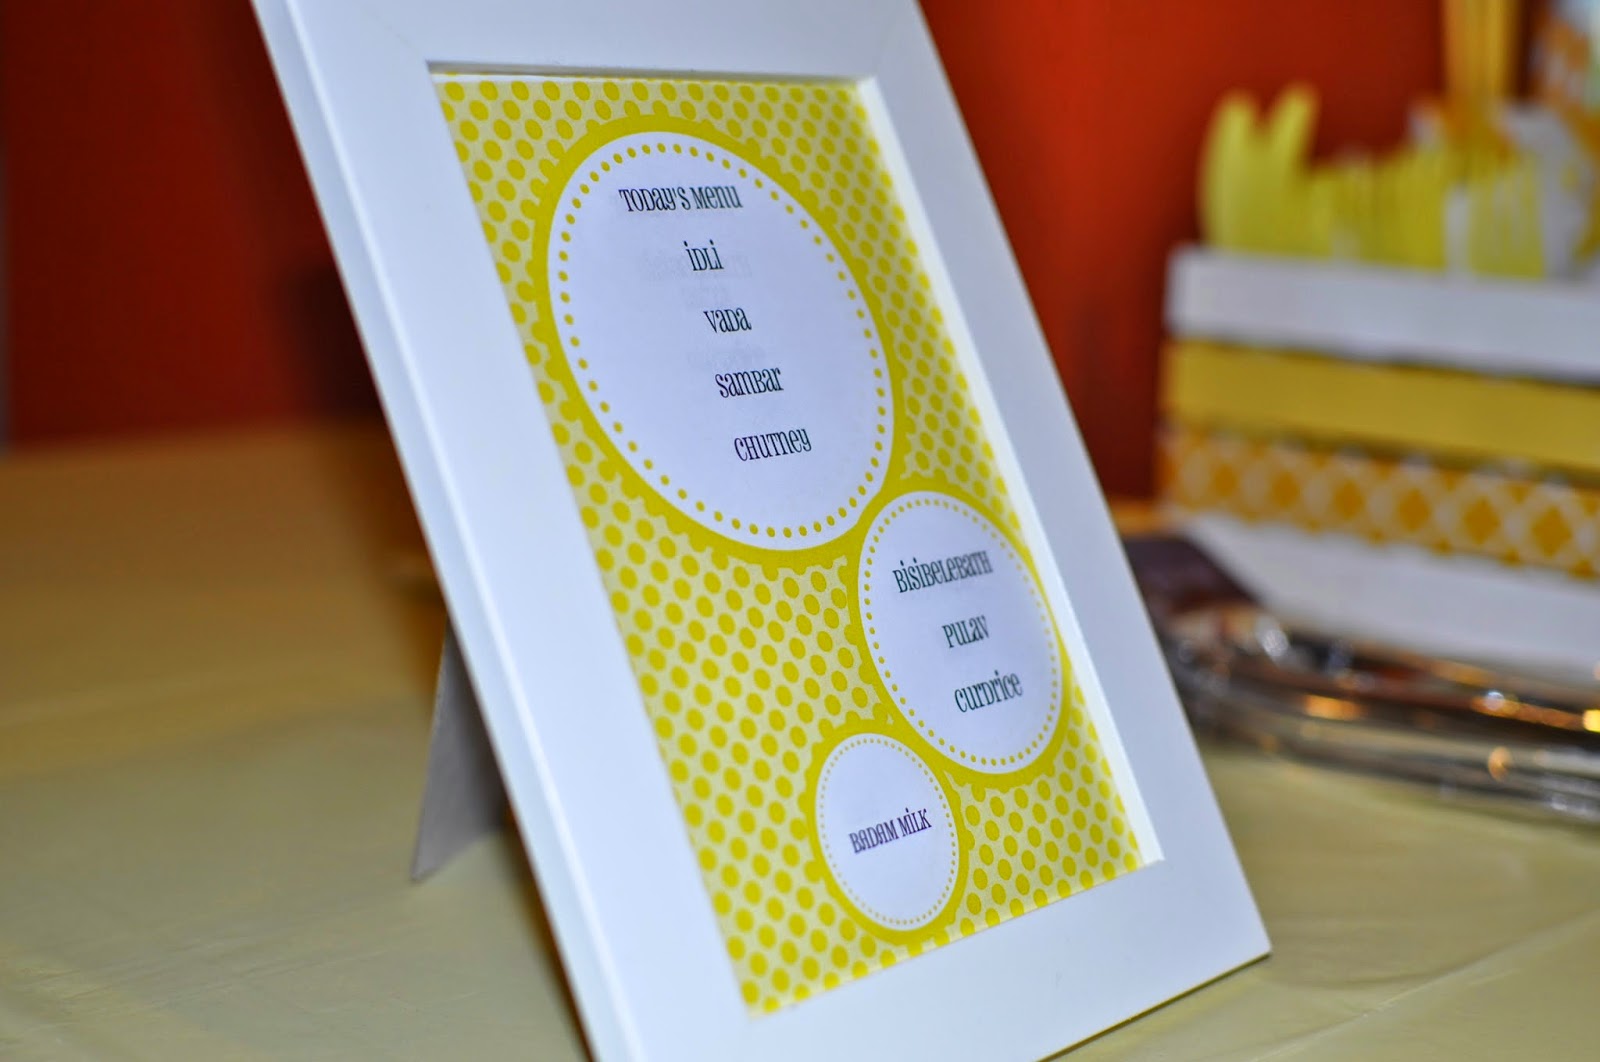
When I browsed through various party sites for ideas - one idea that really registered, was the menu card for the day. Such a simple DIY and so easy to add color to the party.


A look at all the food that was served - All of these are south Indian dishes. Food labels were a DIY, not that our crowd needed labels for food - but me needed excuse to DIY ;)


By now you must have guessed that theme we were going for is yellow and white.. One more easy way to add more of those colors was the drink stand. We served Badam milk and in yellow cups :) Thanks V for arranging them and much more!


Straws, spoons and forks continue to add color. The silverware and straw holders are both DIYs.


Finally, favors! These bags were for kids. Contents and tag tutorials can be seen here.


These purses and small boxes are favors for adults. They held 2 french macaroons each - chocolate, salted caramel and pistachio flavors - my personal fav was salted caramel.


D was happy! Many of his friends all in one place that night. And there was cake and Vada! There is not more that a 2 year old asks for. Love you D - you are so so special!


Huge thanks also go to cousin K, K, BIL V and P for all your help :) (If you are reading this you know who you are ;) ).

Linking this to caffinated crafters.

Friday, August 15, 2014

Favors for kids

The part that all kids wait for in a birthday party - other than cake and candy of course! Favor bags.!

I will not lie, when at other birthday parties I am myself eager to see what's in D's favor bag. The anticipation and the cute contents make the wait worth it :)

So here is the reveal of what is in the favor bags at D's party :)
Everything is packaged in this small yellow and white canvas bag. 


Contents?

A thank you card with D's charming smiles :)
A Bubble bottle - what party is complete without these? (Before D I had no idea bubbles had such a special place for toddlers)
A wind up toy train
A board book - Tomas and friends :)
A woodsie color it yourself figure. (These were a steal at Michael's)


Then comes the funnest part (for me). DIY favor tags.

I had many ideas how to decorate the bag - stencil a train and "Thanks" on top of the bag. But the stencil that I bought was hard to work with - considering this is my first effort stenciling on fabric - so I dropped that idea.

One more idea was to cut out train shapes and use them as tags - Again I used the same stencil to get the train shape and the cuts were not crisp. OTOH, during my research, I learned about Die cutters. I have my eye on them now.. But too expensive for an impulse buy. More research and use cases needed :P

Finally I settled for these tags:


I used Paint chips for the base - they came with hold punched already. I found these cute train printables online and the thank you tags too. Just cut them out and stuck them to the paint chip. Finally gave the paint chip a *tag shape* and tied it to the bags with pastel ribbons :)


And here are the finished favor bags :)

Thursday, August 14, 2014

Cake stand

India trip this time was pretty exhausting. But then, which India trip is not?
Having just gotten back from India, 2 weeks ago, the thought of putting things together for a birthday party, without much help from S (who is still not very mobile) was sort of far from exciting.

I was dragging myself. But then I saw this super cute DIY on pinterest.


I loved how cute it looked and how simple it was to make. And then just like that I got the spring back in my step. Or may be I just got out of the jetlag, refreshed and ready to be excited about D's second second Birthday party. (Its not a typo - D has 2 birthday parties this year!! - one in India and one here :) )

I did not need a cup cake stand I just need a stand for our round train cake. So I just ended up making one tier.

Supplies needed:

Cake circles
Soup / beans cans
Scrap book paper or any nice wrapping paper
Ribbon - 1.5 inch wide
ric rac
hot glue
mod podge
scissors

First glue 2 cake circles together with hot glue - just to make the base sturdier.


Next trace the circle shape on the decorative paper of your choice (I used wrapping paper) and Mod podge it to the top of the cake circle


Then go around with the glue gun to attach the ribbon - Have I told you that D's party is mainly yellow and white :) In the mean while I used mod podge to wrap the same paper to beans cans that I had on hand.


Next attach the ric rac - that zig zag lace like ribbon - to the top edge of the yellow ribbon.


There you have it... A cake stand!
I hope I remember to click and post here, a picture of this stand with the cake on top, after the party :)


Bday deco

More DIY for Bday... Miscellaneous decorations that I hope to make use during the party!

Made these cute little bunting in yellow and white to go on top of the cake.


A 2 for second birthday. Michaels had these cute wooden frames Which I painted yellow and used to frame the 2. At the botton is an Popsicle stick.


Oh and this is my favorite so far. A chandelier made out of streamers. :) Saw this on pinterest.
Who knew streamers could be glamorous! I just went around an embroidery ring stapling alternate stands of yellow and white streamers and attached a string to hang by. That simple! Yet nice looking!


Another look..